Throw back snow day!
Embrace the joy of winter!


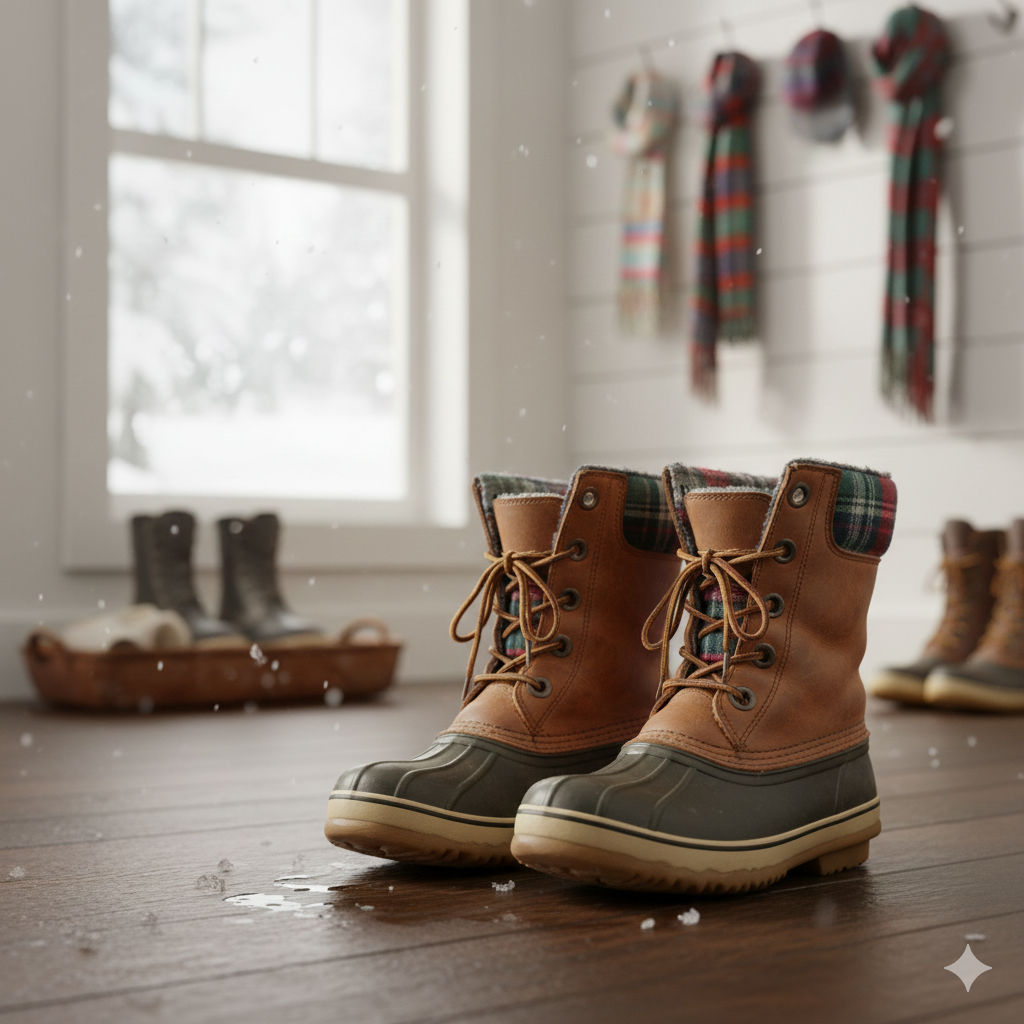
Remember the feeling? That silent, electric moment when you woke up, saw the world covered in a fresh blanket of white, and knew that today was a snow day. Forget the hustle—January is the season for letting go. It’s for rosy cheeks, the thrill of a sled run down the steepest hill, the teamwork of building the perfect snowman, and the quick, joyful adrenaline rush of a well-aimed snowball.


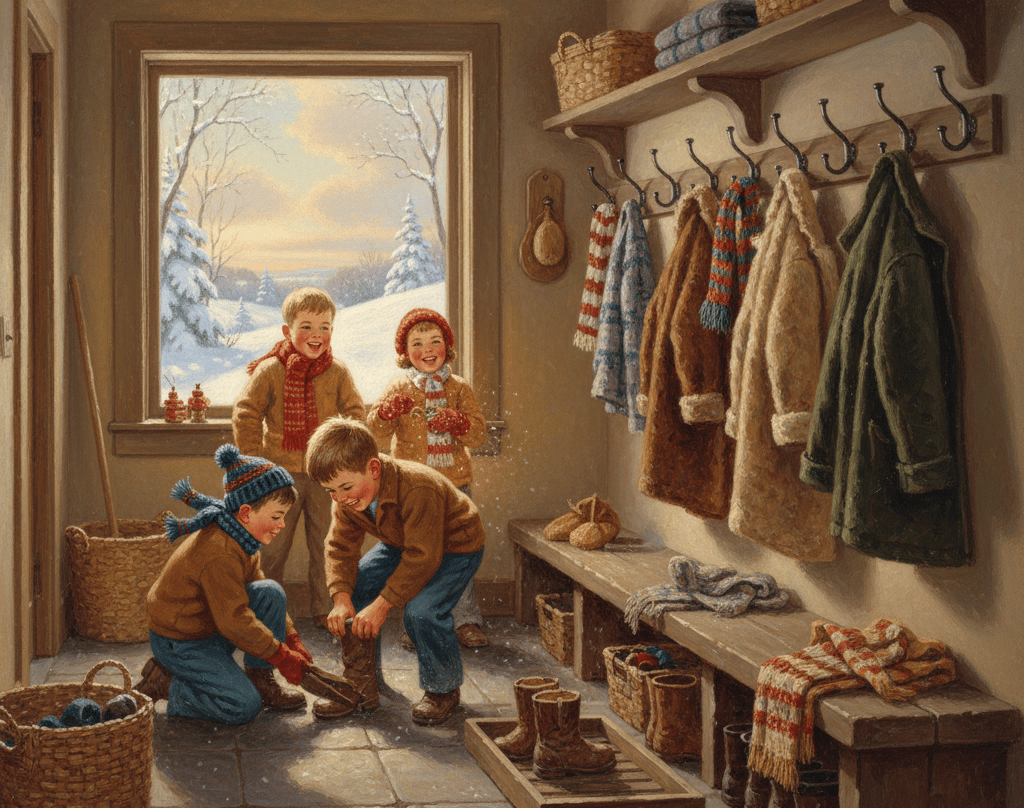
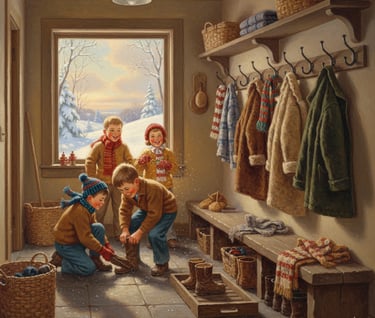
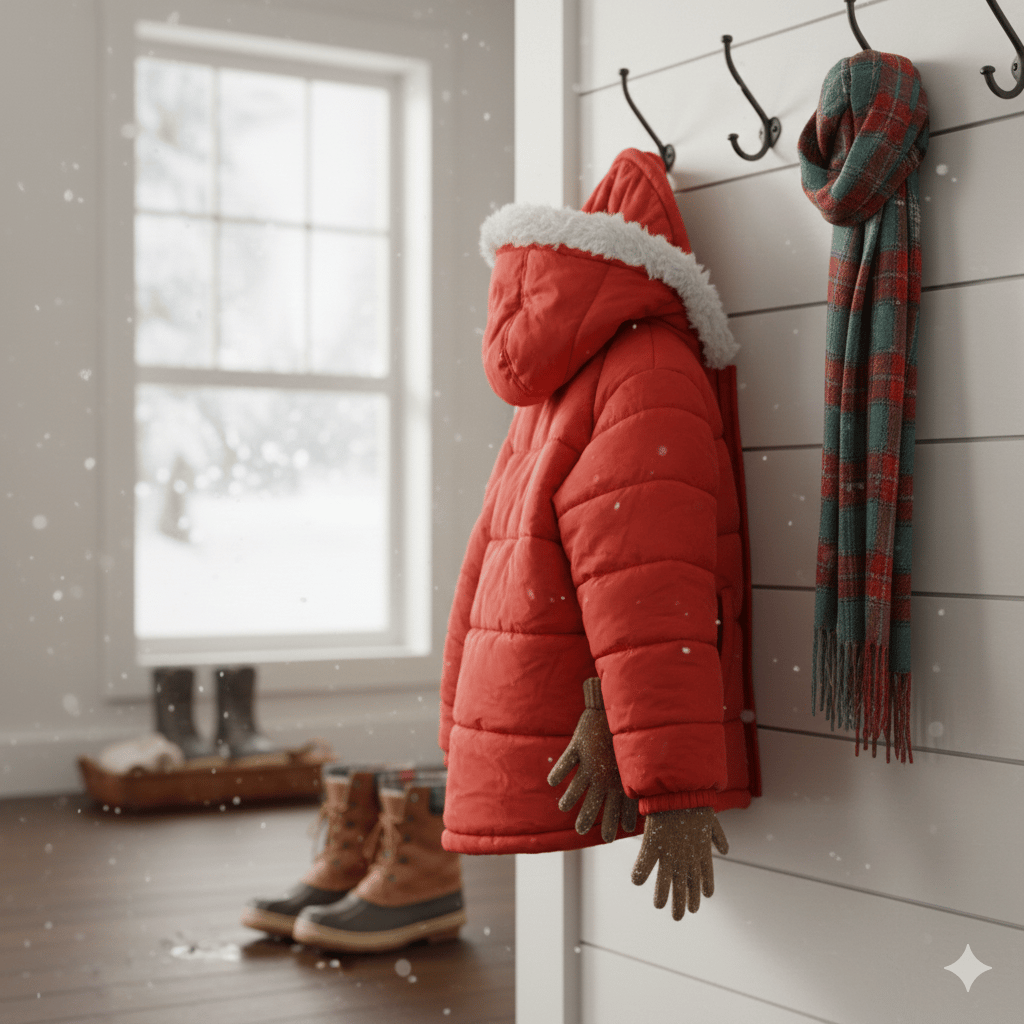
The best memories are made outside, but the true magic happens when you finally step back inside.
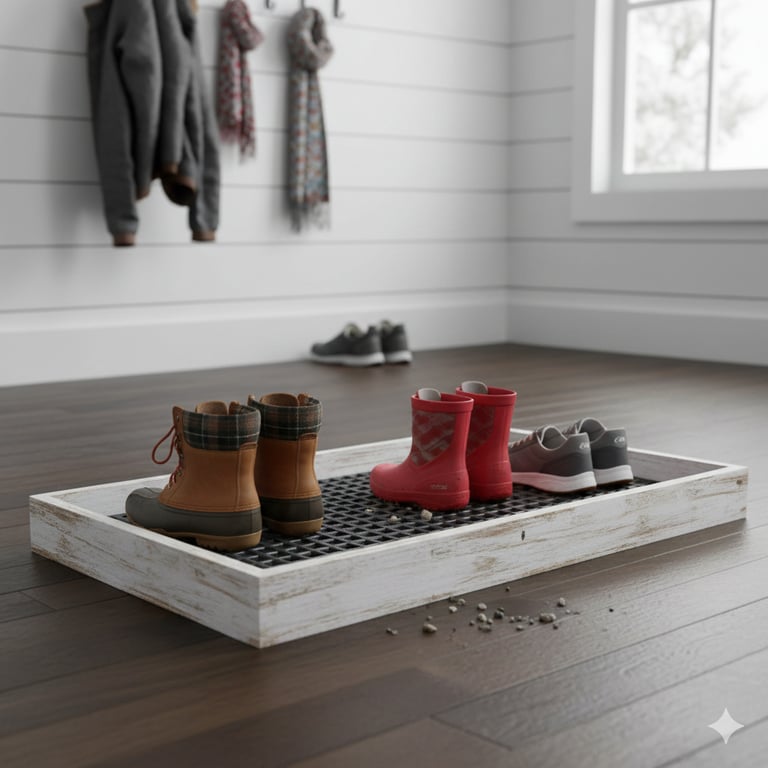
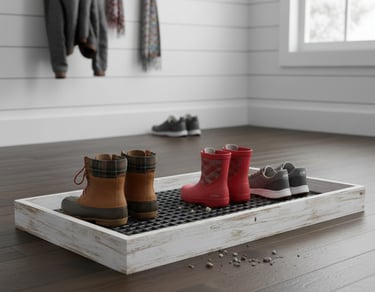
The cozy shelter of home is the ultimate reward for a day spent conquering the frozen world. Let's celebrate the full snow day experience: the cold-weather adventure, the tidy-up in the mudroom, and the ultimate moment of comfort—sinking into a blanket with hot cocoa and a warm cookie.


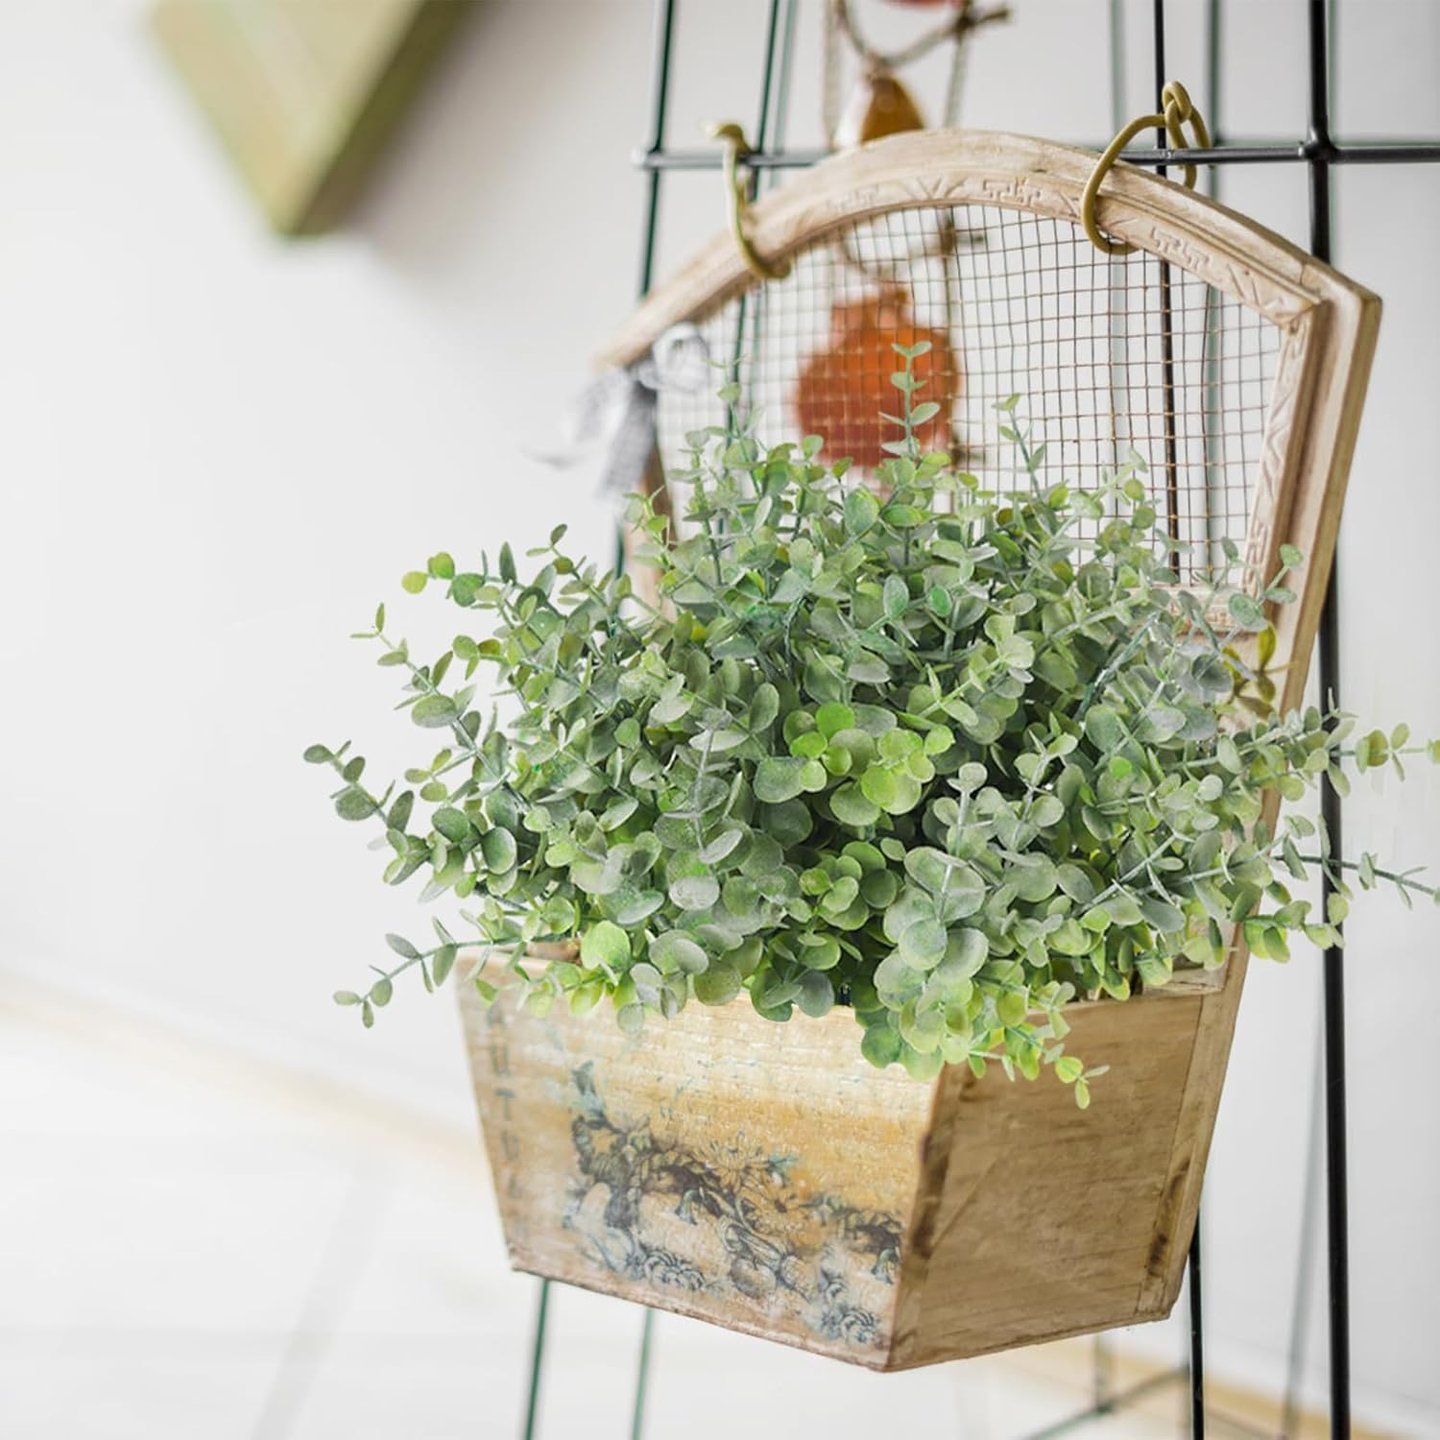
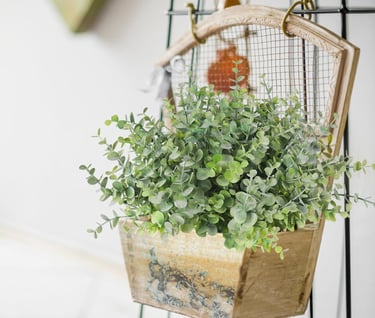
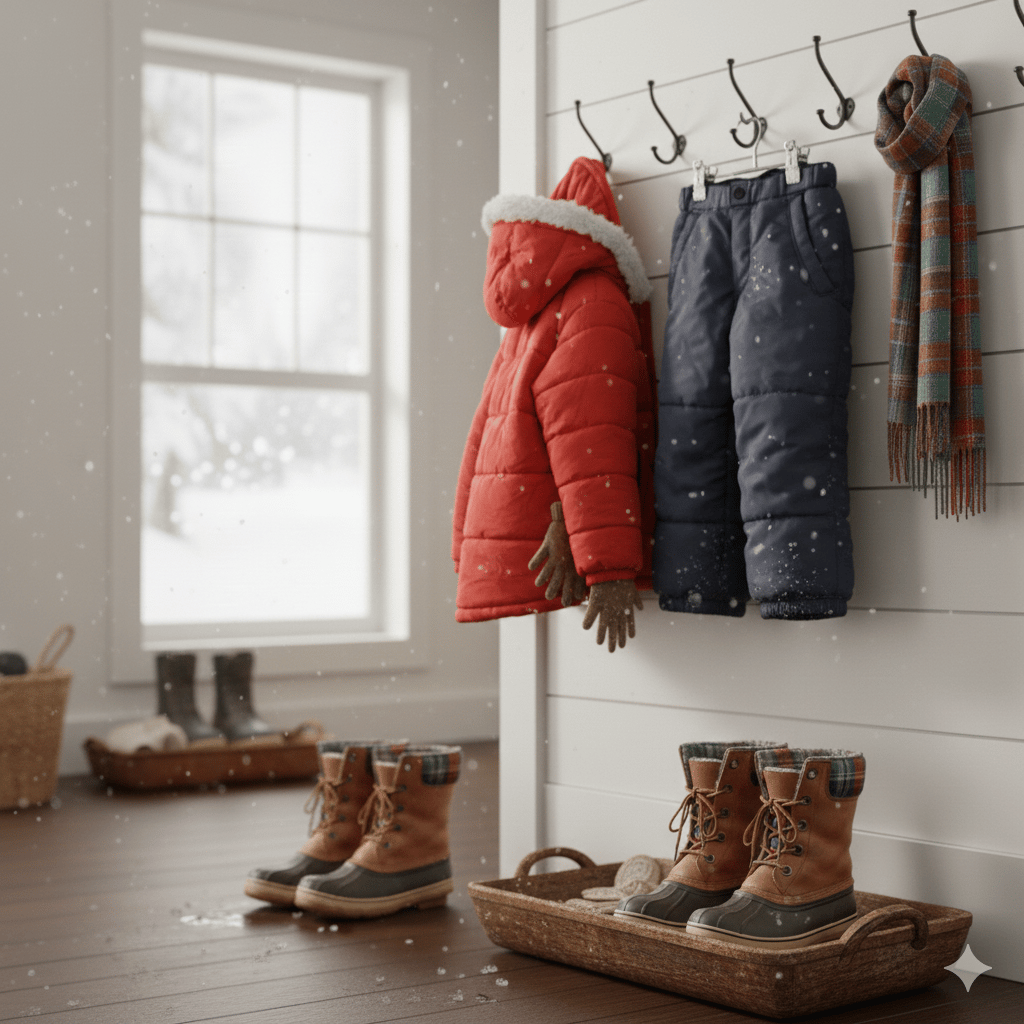
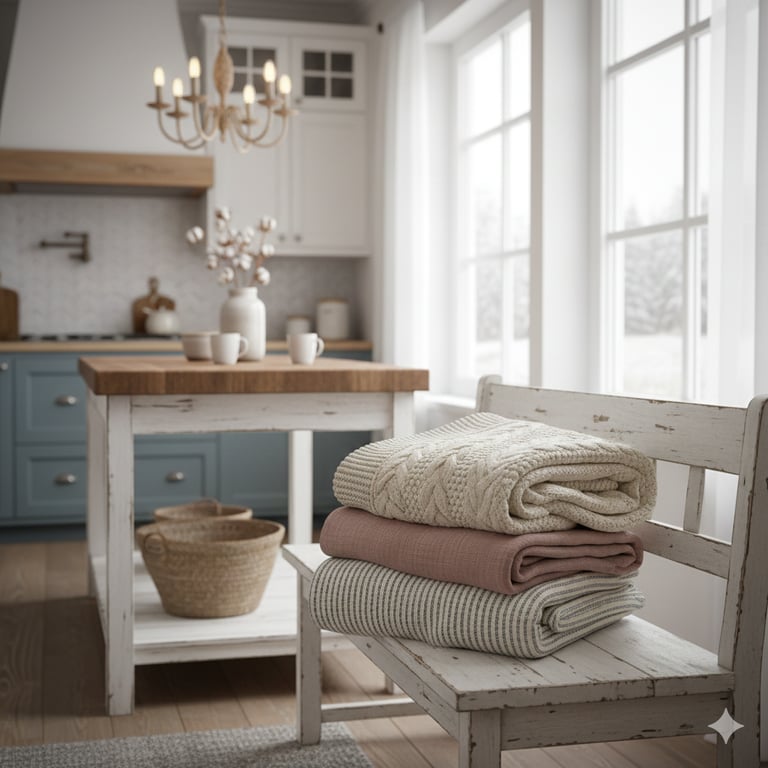
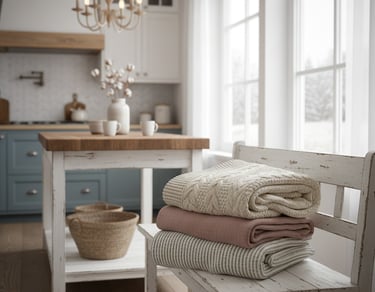
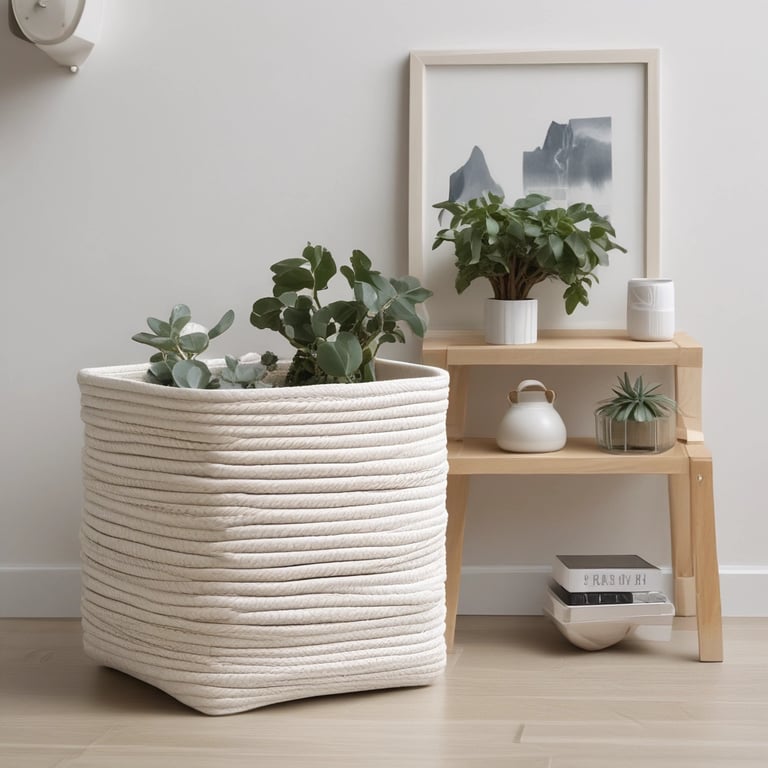
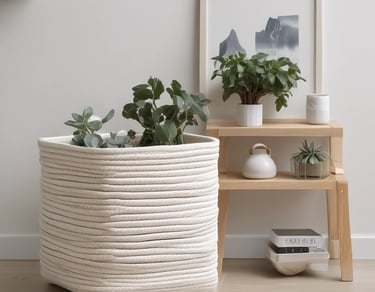
The truth is, those picture-perfect moments don't happen by accident—they happen when your home is ready for them! We believe that a great snow day is defined by having the right essentials close at hand. From the warmest flannel and thickest throws to the prettiest mugs and the smartest kitchen storage, having these cozy comforts prepped and waiting turns the return home from an effort into an instant delight. Let's make sure you're fully stocked for the next unexpected day of winter magic.


THE BEST
HOT COCOA
RECIPE
This recipe is prized for its richness and creamy texture, using both cocoa powder and solid chocolate for a deep flavor.
Ingredients (Serves 4)
3 cups whole milk (Whole milk yields a velvety, thick consistency)
¼ cup granulated sugar
3 tablespoons unsweetened cocoa powder
1 cup semisweet chocolate chips or chopped chocolate bars (about 6.3 oz)
½ teaspoon vanilla extract
A pinch of salt (to balance the sweetness and sharpen the chocolate flavor, optional)
Instructions
Combine Ingredients: In a medium saucepan, whisk together the milk, sugar, and cocoa powder until well combined.
Melt Chocolate: Add the chocolate chips (or chopped chocolate) to the saucepan. Cook the mixture over medium heat, whisking frequently, until the chocolate has completely melted and the mixture is smooth.
Heat: Continue whisking frequently for about 3 to 4 minutes until the mixture is smooth and very warm. Do not let the mixture come to a boil. Boiling can cause the chocolate to split and become grainy.
Finish: Remove the saucepan from the heat, stir in the vanilla extract, and a pinch of salt if using.
Serve: Divide the hot cocoa evenly among four mugs and top with your favorite additions.
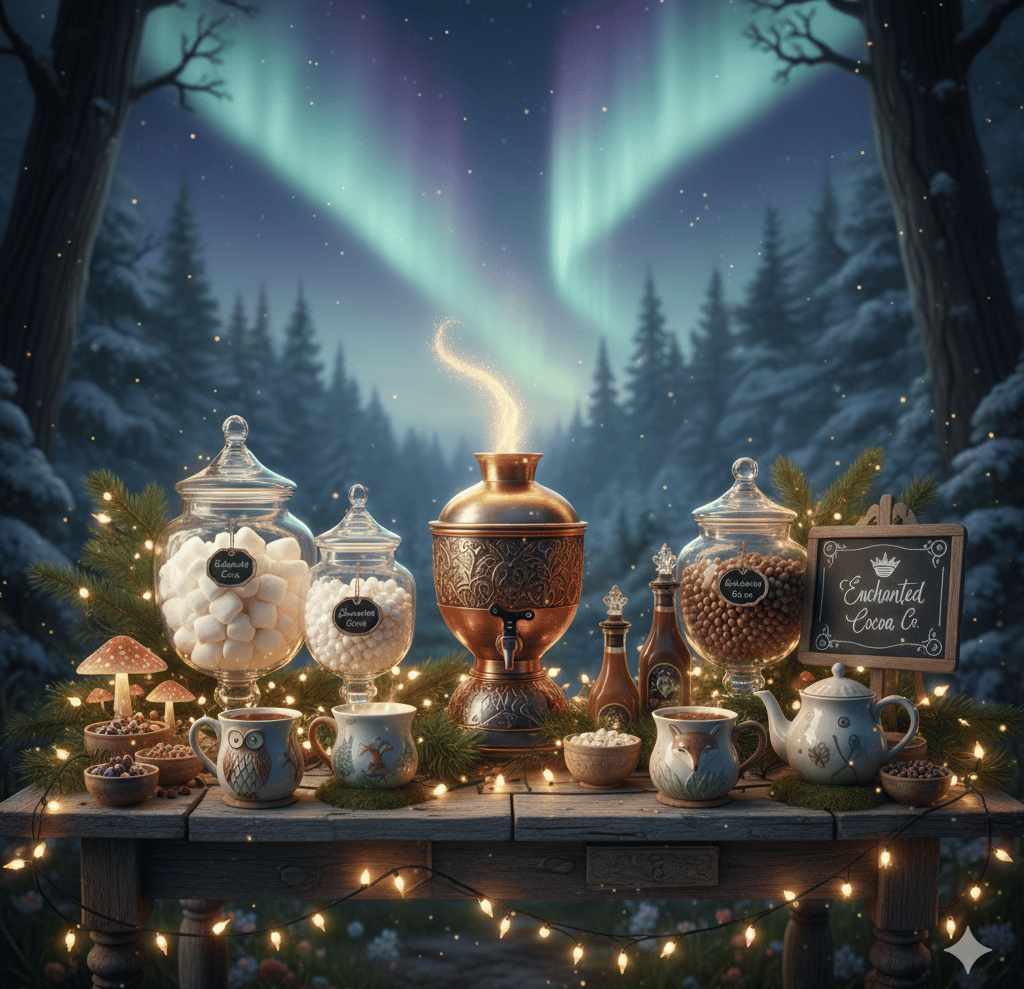
☕ How to Set Up the Ultimate Hot Cocoa Bar
Setting up a hot cocoa bar is all about display, organization, and options. It transforms the act of making a drink into a festive activity.
Step 1: Choose Your Station
Select a dedicated space: a small kitchen counter, a dining buffet, or a console table behind the sofa.
Create Height: Use cake stands, wooden crates, or trays to elevate certain items (like the topping jars) to create visual interest and dimension.
Step 2: The Cocoa Base
Serving Vessel: If serving a crowd, prepare the cocoa ahead of time and keep it warm in an insulated carafe, thermos, or slow cooker (crockpot).
Mugs: Have your mugs clean and easily accessible. You can use classic ceramic mugs or supply disposable paper cups for larger groups.
Stirrers: Include spoons, candy canes, or cinnamon sticks for stirring.
Step 3: Organize the Toppings
Toppings are the heart of the bar! Store them in clear glass jars, mason jars, or stylish canisters so guests can easily see what's inside.

At Seasons and Home, our mission has always been about creating a space you love through every season of life. As we move forward, we are committing to a 'smarter' home—one that balances timeless style with eco-conscious choices. This is just the beginning of our journey toward a more sustainable, intentional, and beautiful way of living. We're so glad you're here for the change.